
Simple Ways to Improve the Sound Quality of Your Recordings
Good audio can make a major difference in how people experience digital content. Whether you are recording a podcast, creating a tutorial, preparing a presentation, or making a video for social media, clear sound helps your message reach the audience more effectively.
Many people assume that high-quality audio requires expensive microphones and professional recording studios. While good equipment can certainly help, there are several simple techniques that can improve recordings even when working with basic equipment. From choosing the right location to reducing background noise during editing, small improvements can produce noticeable results.
Choose the Right Recording Location
The environment where you record has a major impact on the final sound. A noisy room can introduce unwanted sounds that are difficult to remove later.
Before starting, listen carefully to your surroundings. Fans, air conditioners, traffic, televisions, computers, and nearby conversations can all become part of the recording.
Whenever possible, choose a quiet room away from busy streets and household activity. Closing windows and doors can also help reduce outside noise.
A room with some furniture and soft materials is often preferable to a completely empty room because hard surfaces can cause sound reflections.
Keep the Microphone at a Suitable Distance
Microphone placement is another important factor. If the microphone is too far from the speaker, the voice may sound weak while environmental noise becomes more noticeable.
If it is too close, the recording may capture excessive breathing, popping sounds, or harsh pronunciation.
Experiment with the distance before recording the full project. A short test recording can help you find a position where the voice sounds clear and natural.
Avoid Touching the Microphone
Handling the microphone or its stand during recording can create loud bumps and vibrations. These sounds may be much more noticeable in the final recording than they were while you were speaking.
Place the microphone securely before starting and avoid moving it during the session.
If you need to adjust its position, pause the recording first whenever possible.
Record a Test Clip
A short test recording can prevent many problems. Record a few sentences and listen to them before beginning the main recording.
Check for:
- Background noise
- Echo
- Distortion
- Low volume
- Excessive breathing sounds
- Electrical buzzing
- Microphone movement
Fixing these issues before recording everything can save considerable time during editing.
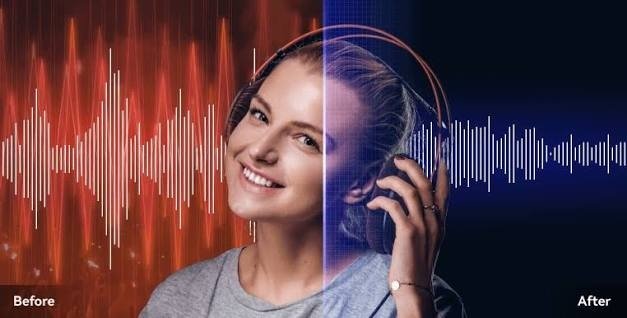
Reduce Background Noise After Recording
Even with careful preparation, some recordings will contain unwanted noise. A computer fan may suddenly become noticeable, traffic may pass outside, or another person may make noise nearby.
Modern noise-reduction tools can help reduce these distractions after the recording has been created.
For people looking for a simple online approach, Noise Remover is one option to explore when working with noisy audio.
The purpose of noise removal should be to improve clarity while keeping the main voice natural. Processing should be adjusted according to the quality and type of the original recording.
Do Not Remove Every Background Sound
It may seem logical to remove as much background sound as possible, but completely eliminating every sound is not always necessary.
Some recordings benefit from retaining a small amount of natural room sound. Removing too much background information can sometimes make speech sound unnatural or processed.
The goal should be balance. Reduce distracting sounds enough that the listener can focus comfortably on the main content.
Watch Out for Echo
Echo is another common audio problem. It happens when sound reflects from walls, ceilings, floors, and other hard surfaces.
Recording in a large empty room can create a noticeable echo. If possible, choose a room with curtains, carpets, furniture, or other soft materials.
You can also experiment with your microphone position. Sometimes moving slightly closer to the microphone can reduce the amount of room sound captured.
Speak Clearly
Technical equipment cannot completely compensate for unclear speech. Speaking at a comfortable pace and maintaining a consistent distance from the microphone can improve the recording considerably.
Avoid speaking too quickly, especially when recording educational content or detailed explanations.
If you make a mistake, pause briefly and repeat the sentence rather than continuing immediately. This can make the editing process easier later.
Use Consistent Volume
Large changes in speaking volume can make audio difficult to edit. If one sentence is very quiet and the next is extremely loud, listeners may have to adjust their volume repeatedly.
Try to maintain a consistent speaking level throughout the recording. If the project contains multiple speakers, additional editing may be required to make their volumes more consistent.
Clean Up Audio Before Adding Music
For videos, podcasts, and presentations, creators often add background music or sound effects. However, it is usually better to clean and balance the main voice before adding additional audio elements.
If the voice already contains significant noise, adding music can make the overall mix even harder to understand.
Start with the speech or primary audio, improve its clarity, and then add other elements carefully.
Listen With Headphones
Headphones can reveal audio problems that are difficult to notice through ordinary laptop or phone speakers.
After recording or editing, listen carefully with headphones. Pay attention to low-level buzzing, clicks, breathing sounds, room echo, and other distractions.
You do not need expensive studio headphones for basic quality checks. Even ordinary headphones can help identify problems that might otherwise be missed.
Keep Multiple Versions
When editing important audio, keep the original recording and create a separate processed version.
This allows you to compare different approaches without permanently changing your source file.
For larger projects, you can keep organized versions such as the original recording, cleaned audio, edited audio, and final production. This makes it easier to return to an earlier stage if necessary.
Why Clear Audio Makes Content Better
Clear audio allows audiences to focus on information instead of distractions. This is particularly important for spoken content.
A tutorial becomes easier to follow when instructions are understandable. A podcast becomes more comfortable to listen to when background noise is controlled. A presentation feels more polished when the speaker’s voice is clear.
Audio quality does not have to be perfect. It simply needs to be clear enough that listeners can comfortably understand the message.
Final Thoughts
Improving recording quality is not always about buying better equipment. Simple changes to the recording environment, microphone placement, speaking technique, and editing process can make a meaningful difference.
Background noise should be reduced whenever possible before recording, but modern noise-removal tools can also help when unwanted sounds remain in an existing recording.
The most important principle is to preserve the natural quality of the voice. Avoid excessive processing, compare the original and edited versions, and listen carefully before publishing.
With consistent habits and careful editing, creators can produce clean and understandable recordings using relatively simple equipment and accessible audio tools.